

After a brief overview of the firmware previously, we’re diving into system porting this time. After all, a prototype must do things that only a prototype can do…
Of course, my porting process wasn’t all smooth sailing. This isn’t an old platform like the SD410, 845, or 660, where mainline kernel support is basically mature and online resources are plentiful. As of now, mainline kernel support for the SM8750 is relatively decent, with support for the CPU, USB, display, GPU, audio, as well as ADSP and CDSP already present. 1
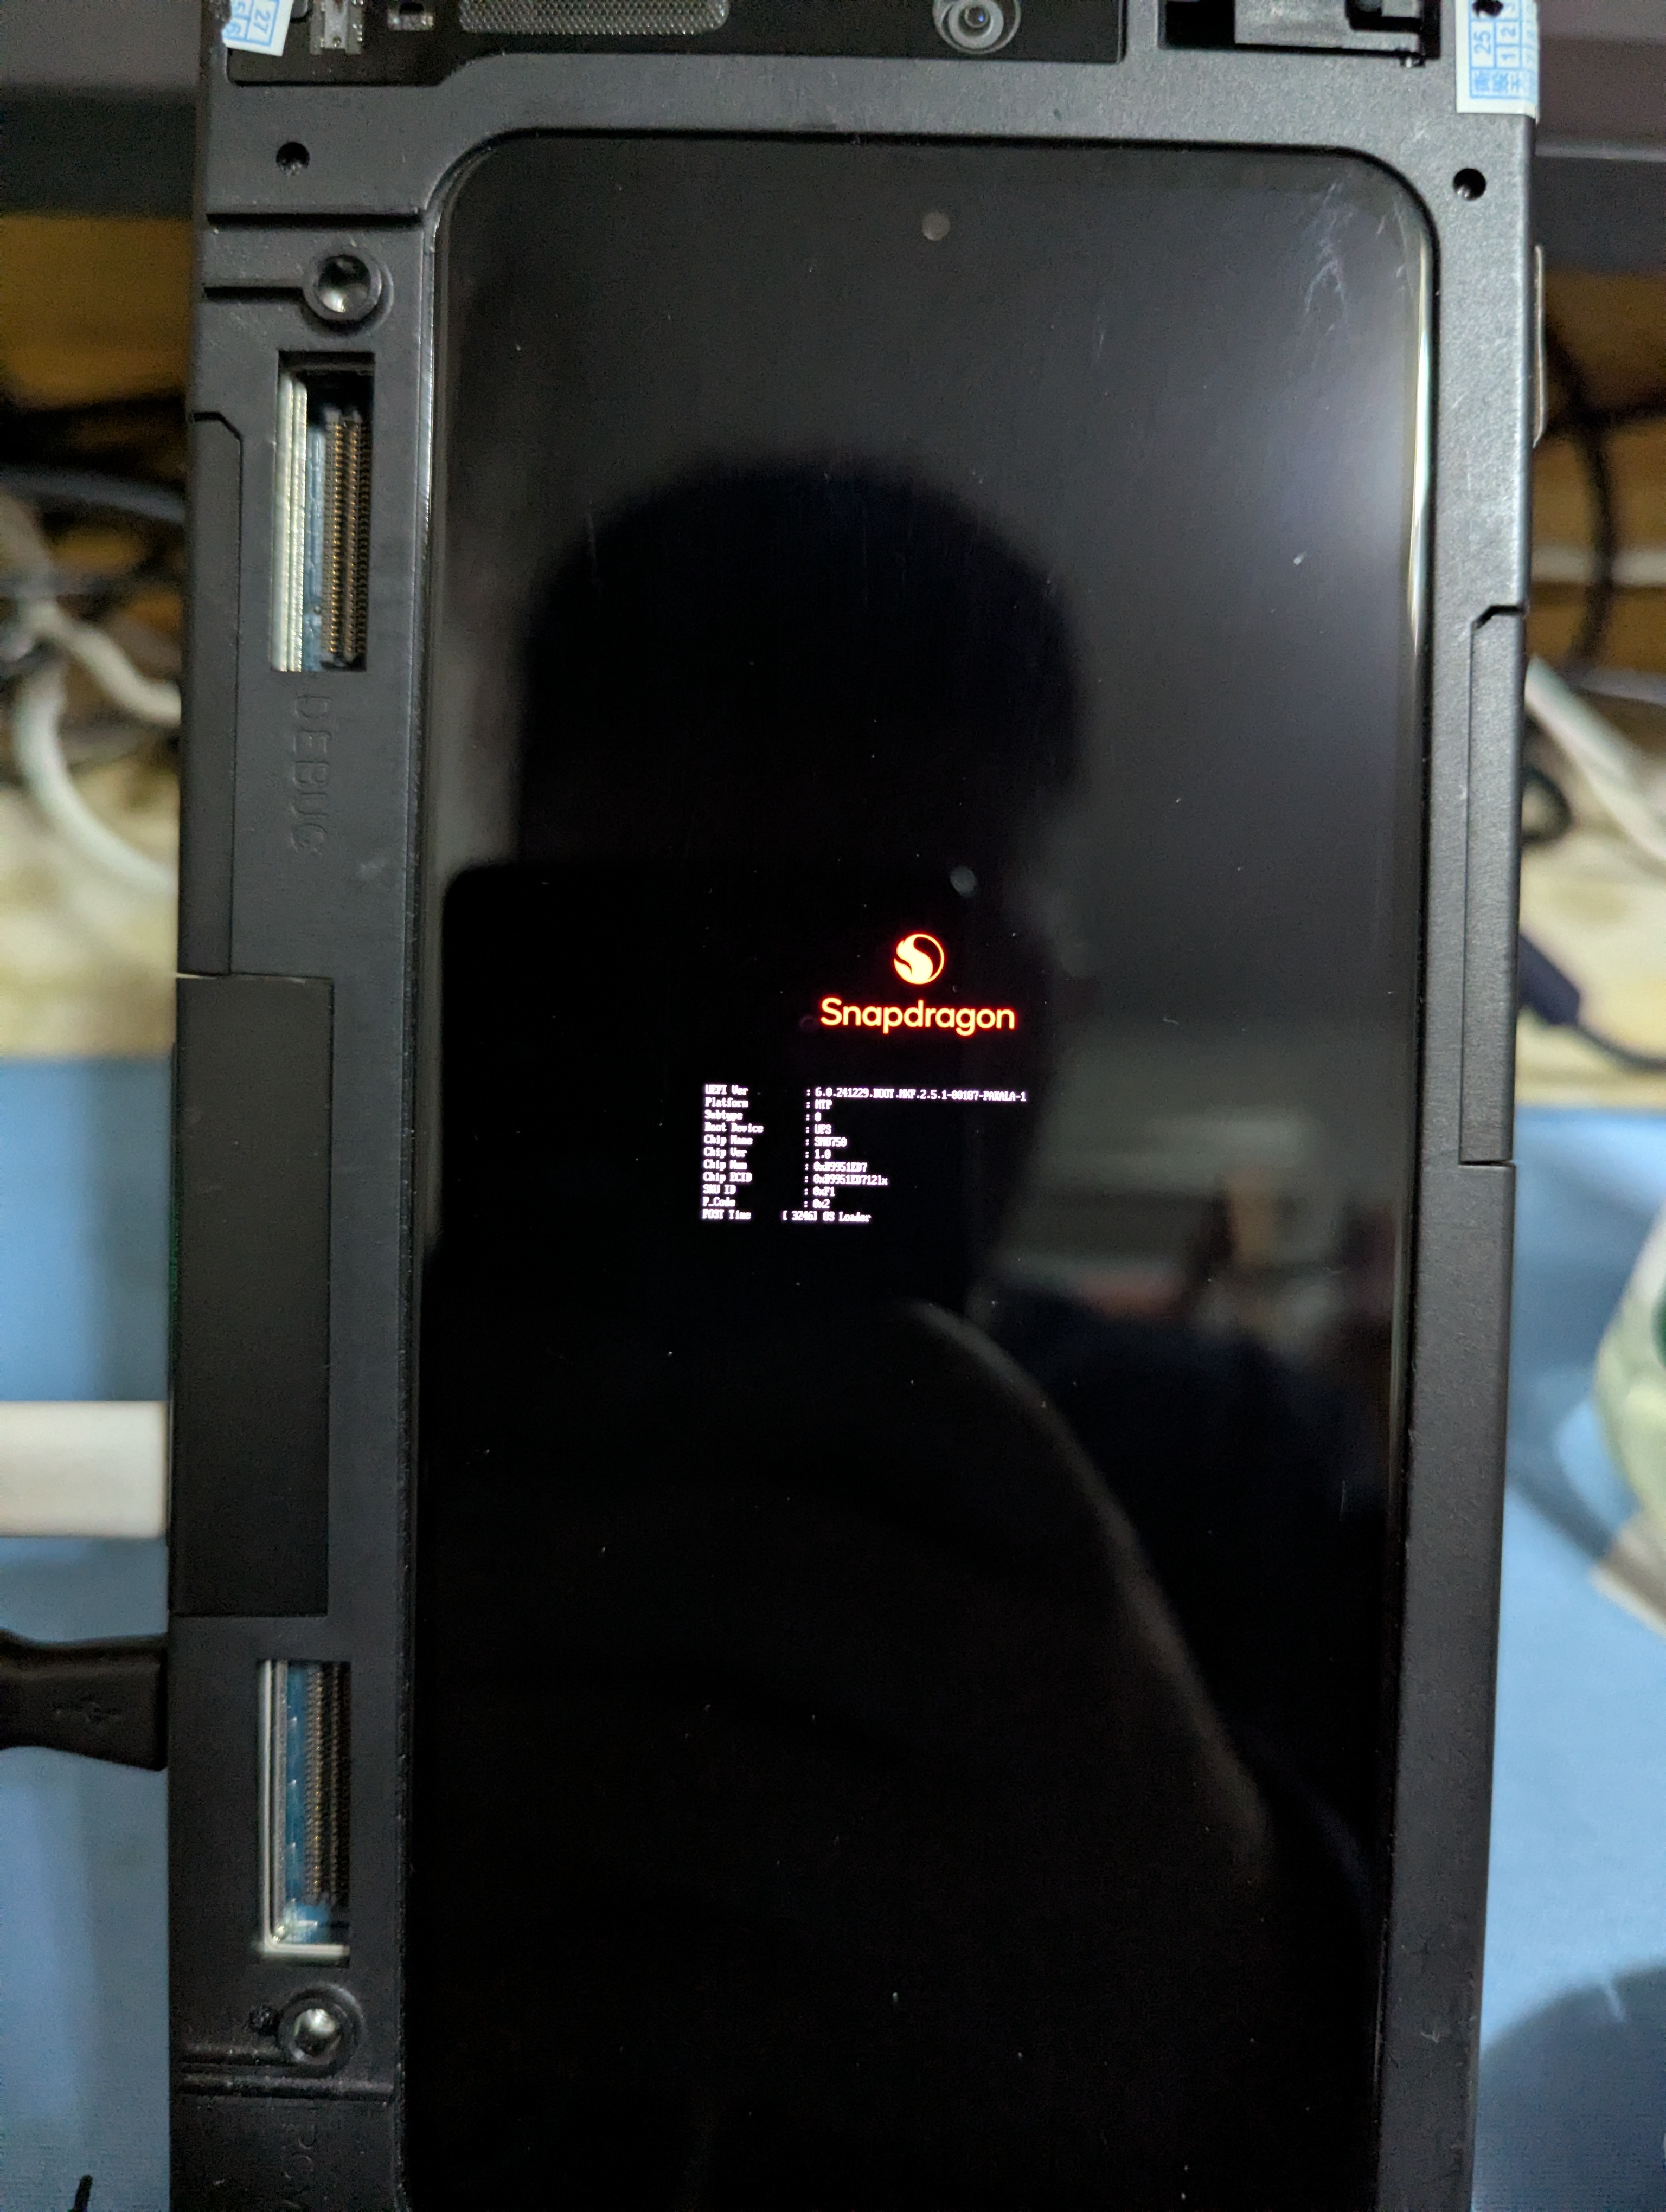
Everything begins here…
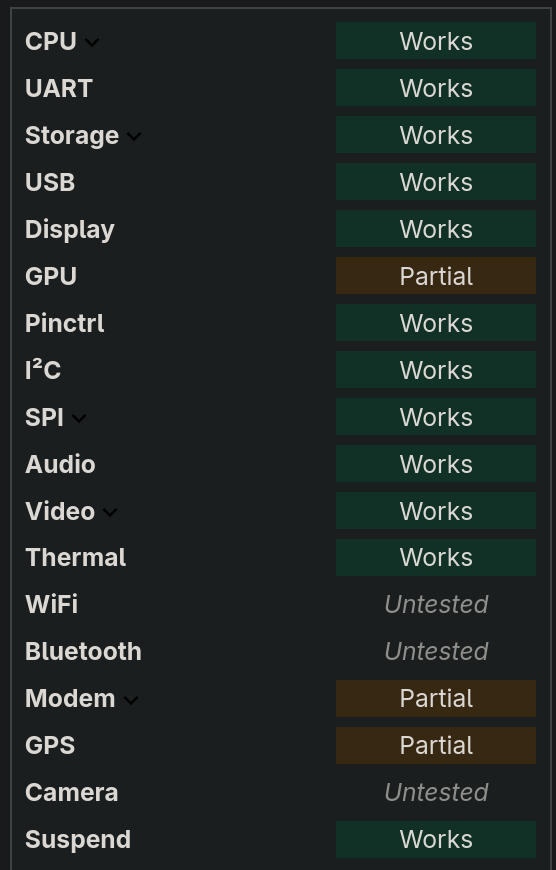
TL;DR: “It’s currently a work-in-progress.” Only the CPU (including DVFS), display (using EFI framebuffer), USB networking, audio, internal UFS flash, UART serial, GPIO-based buttons, ADSP, and CDSP are functional; the rest is still undergoing patching. This is significantly better than my first attempt based on Linaro’s tutorial last year. Back then, after half a day of effort, only the UART worked, and the screen remained black.
However, Qualcomm is quite proactive regarding mainline kernel support for its own chips. A friend of mine, “Kaanapali*”, told me that using an SD 8 Elite Gen 5 prototype and following Qualcomm’s instructions, he ported a full version of Debian 13 and implemented most mainline-supported features in just half an hour! But that’s a story for another article.
*The author is making a joke here; “Kaanapali” (Kaanapali) is the informal phonetic transliteration of the development codename for the Qualcomm Snapdragon 8 Elite Gen 5 chip. Its informal phonetic transliteration in Standard Korean is “가나파리” or “카나팔리”.
Hardware Requirements
- An SM8750 MTP prototype (a non-fused version is recommended for easier firmware modification);
This device has a corresponding OpenEmbedded configuration file and is supported by Linus’s mainline kernel, the community-maintained SM8750 mainline kernel branch, and the kernel branch developed by Xlie Electronic. However, because the device was only released in limited quantities to OEMs and developers, no official port exists yet.
- Host: Must be a 64-bit Linux OS (any architecture—x86, ARM, RISC-V is fine), or a virtual machine. My machine uses a Snapdragon X Elite with 32GB RAM, and I have another single-board computer with an RK3588 CPU and 8GB RAM.
Armbian is an embedded Linux distribution based on Ubuntu and Debian specifically designed for ARM-based embedded devices; its system files are tiny. Unlike Android, you don’t need to download hundreds of gigabytes of source code, and compilation doesn’t take hours or days. For developers who don’t want to compile a Rootfs from scratch, Armbian also provides a “UEFI Generic Image” for the ARM architecture, where you only need to compile a suitable kernel to boot.
Installing Packages for Kernel Compilation
Before compiling the kernel, we need to install some build tools. On Ubuntu or Debian-based distributions, type the following command in the terminal:
sudo apt install make gcc git cmake bc bison flexAfterward, use the git command to download the kernel source code:
git clone https://github.com/Xlie-Electronic-Customs/linux.gitI am using the mainline kernel branch developed by Xlie, which currently supports the most features and includes a solution for the modem issues that currently cause system hangs. 2
Configuring Kernel Build Options & Compiling the Kernel
First, obtain the kernel source code. Given the release window of the prototype, Qualcomm’s own Linux kernel source has the fewest issues, but their kernel requires a developer account for access, so I had to use community-maintained mainline branches. For instance, I used Xlie’s kernel source. It has been updated to version 7.0-rc6 and supports more hardware, making it suitable for SM8750 series phone ports. Use the command git clone https://github.com/Xlie-Electronic-Customs/linux.git to download the source, and type make nconfig to set the build options.
Next, go to the SM8750 mainline kernel source to download the sm8750.config file, then drop it into the arch/arm64/configs directory. Run make sm8750.config defconfig to generate the configuration file. Then type make nconfig or make xconfig to edit it. In the configuration page, use the arrow keys to move and the space bar to select. Press F8 to search for configuration names.

Essential mainline kernel configurations for the SM8750 MTP prototype:
CONFIG_FW_LOADER_COMPRESS: Facilitates loading compressed firmware files.CONFIG_DRM_EFIDRMCONFIG_FB_EFI: Support for the EFI framebuffer driver. This is the safest method while Qualcomm’s Adreno 830 graphics aren’t yet mainline-supported, though GNOME and other desktops won’t work.CONFIG_VT: Provides TTY console support (if you’re using downstream Android kernels).CONFIG_EFI: Supports the EFI environment. Since we’ll use the device’s built-in UEFI firmware to boot, this is for later use withsystemd-bootor GRUB.CONFIG_EFIVAR_FS: Enablesefivarfilesystem support. This filesystem is auto-generated by the kernel to facilitate managing boot order and adding/clearing boot entries; without it,efibootmgrcannot view or modify the boot sequence.CONFIG_EFI_ARMSTUB_DTB_LOADER: Allows the bootloader to specify a device tree for the kernel, overriding the one provided by firmware to enable DTB updates (controlled via thedevicetreeparameter insystemd-bootordtb=in GRUB).CONFIG_EFI_CAPSULE_LOADER: Enables UEFI capsule loader support, allowing users to update UEFI and other firmware via applications.CONFIG_RTC_DRV_EFI: Adds the UEFI real-time clock for system time updates.CONFIG_DRM_PANEL_NOVATEK_NT37801: Enables support for the NT37801 screen. This is the DSI-protocol display used in SM8750 MTP and QRD prototypes.
Once adjusted, press F6 to save and Esc to exit. Now for compilation—this step can be lengthy. Keep an eye on the terminal output to monitor the process. If it’s too slow, add the -j($nproc) parameter to the make command, where $nproc is your CPU core count. If all goes well, it should finish in 5 minutes. If an error occurs, find the location of the error, copy it, and search for a fix on Google or Startpage. If error messages are vague, use make -j1 to slow down and see more detail.
After compilation, you’ll get an uncompressed kernel and its corresponding device tree. Next, we need to “assemble” the OS and try to boot.
Flashing the Device
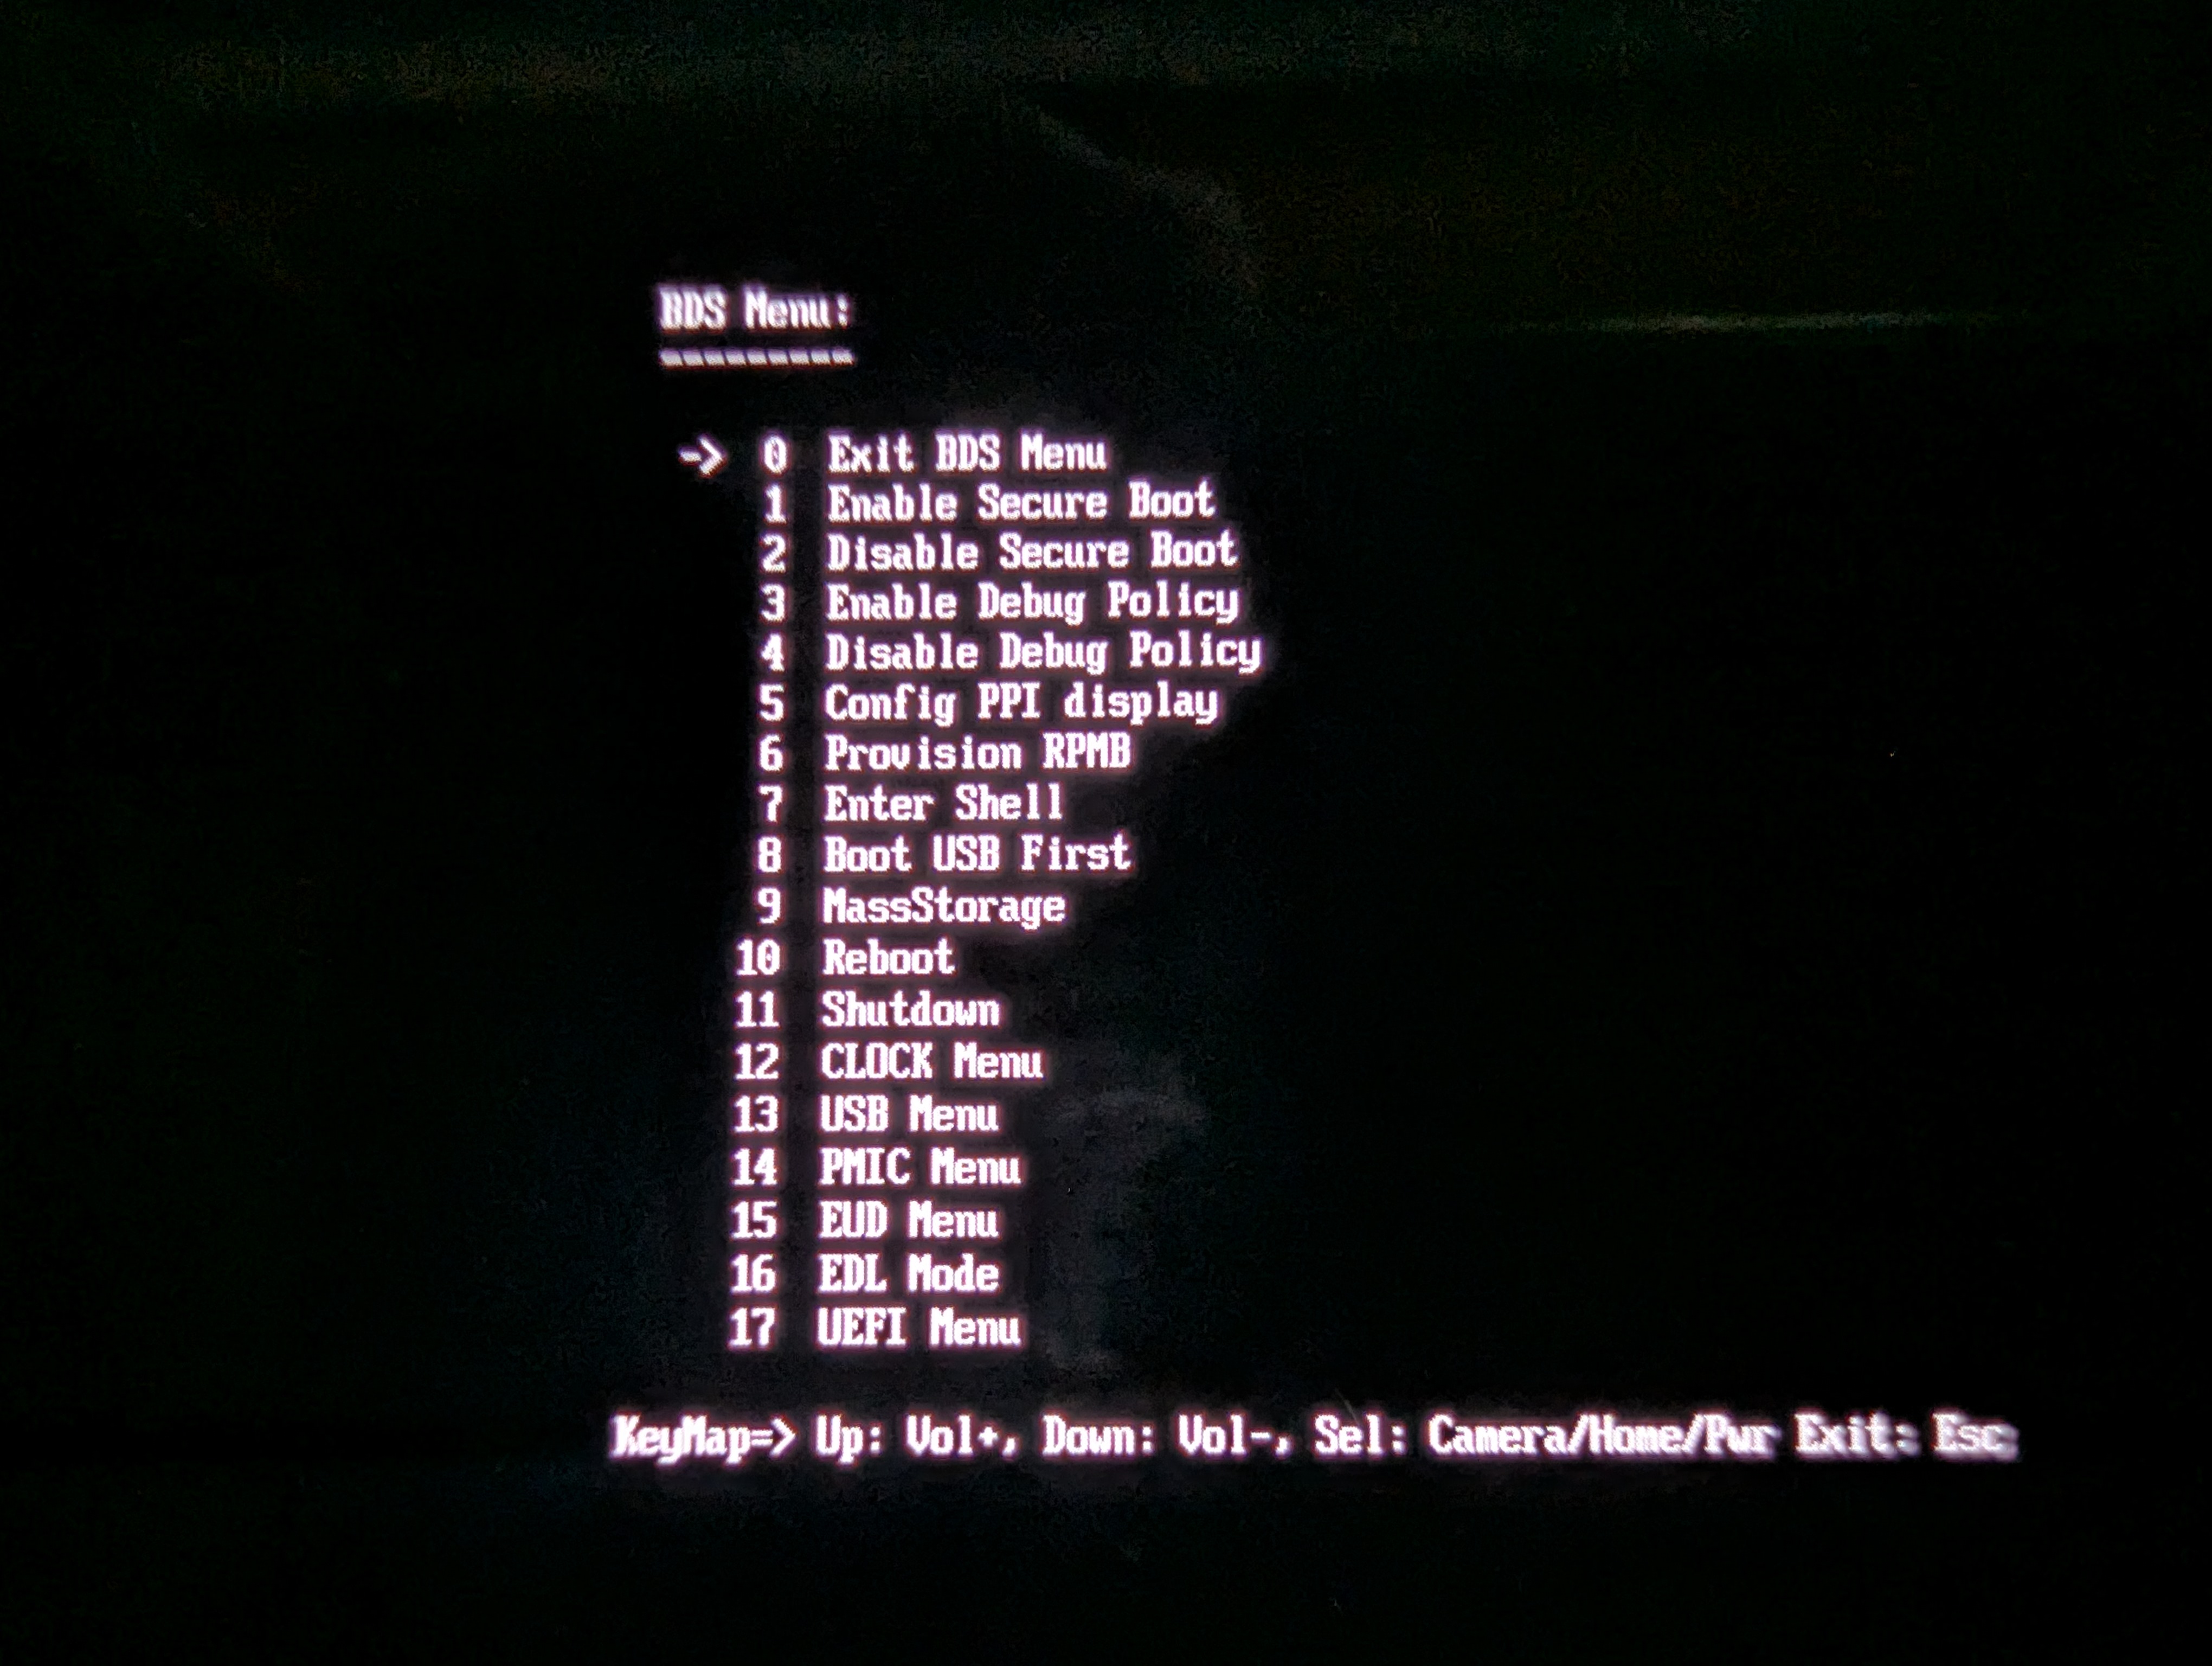
Power off the prototype. Hold the Power and Volume Up buttons to boot (not a normal “tap to power on”); the device will enter the “BDS Menu” (this requires firmware with debugging features enabled). Here, you can configure USB, PMIC, and UEFI settings.
Next, prepare a micro USB cable to link the device to your computer. Type sudo minicom qcom (or sudo minicom -D /dev/ttyUSB0 -b 115200) in your terminal to access the UART serial. You can then control the device via keyboard (the terminal content mirrors the device screen). On the device, use volume buttons to select “Mass storage mode” (or press 9 on your keyboard) and Power (or Enter) to confirm. The screen will turn off, and the device’s UFS flash partition table will appear in the terminal. Use arrow keys to select “UFS LUN 0”, press “Enter” to confirm, then press M to mount the LUN 0 partition and access its content from your computer.
Open GNOME Disks (or use the parted command) on your computer. Find the mounted disk, use arrow keys to locate the userdata partition, click the gear icon, select “Resize Partition”, enter a size, and name the partlabel “linux” or something similar. Then, “Format” it to Ext4. Leave the original userdata partition as default to keep your data (or format it directly). Next, create a new EFI system partition, format it to FAT32 (FAT16 or W95 FAT32 also work), with a size of 500-1000MB. Once finished, press any key to exit “Mass storage mode”, then select “Reboot” to apply the new partitions. After entering the “BDS Menu” again, re-enter “Mass storage mode” (or type mass in EBL) and mount LUN 0. Go to the Armbian website to download the UEFI ARM 64-bit generic image, mount it, find the Armbian rootfs, select “Create Partition Image”, and flash that image onto the device’s UFS flash.
Then, download the generic image from PostmarketOS, mount it, and copy bootaa64.efi and loader/entries/pmos.conf from its EFI partition. On your device, create EFI/BOOT and loader/entries folders and copy the files into their respective directories. Copy your compiled sm8750-mtp.dtb device tree from the kernel source into the EFI partition.
Next, modify and rename pmos.conf so it can boot Armbian:
# armbian.conf

title Armbian
linux vmlinuz
options loglevel=7 debug pd_ignore_unused clk_ignore_unused iomem=relaxed root=PARTLABEL=linux ro rootwait earlycon
devicetree sm8750-mtp.dtb
Without using an initramfs, the UFS partitions and UUIDs change with every boot, so using UUIDs to specify the rootfs will cause a kernel panic. Using the partition label is the only way to boot.
Modifying the Boot Order
The boot firmware for the Qualcomm SM8750 MTP prototype is a UEFI implementation that adheres to the ARM Embedded Base Boot Requirements standard (as do all retail units), supporting PXE boot, USB boot, and providing a UEFI Shell for easier management.
Hold Power and Volume Up to enter the “BSD Menu” and select “Enter Shell”. Type map -a to view the UFS flash partitions, find the EFI partition you created (e.g., fs4), and type fs4: to see its contents.
Shell> dir fs4:\efi -b

Directory of: fs4:\efi\
     03/18/2026  23:19 <DIR>         4,096  .
     03/18/2026  23:19 <DIR>             0  ..
     03/18/2026  21:41 <DIR>         4,096  BOOT
               0 File(s)           0 bytes
               3 Dir(s)
Use the bcfg command to add a boot entry 3:
Shell> bcfg boot addp 1 FS4:\EFI\BOOT\BOOTAA64.efi "Armbian"
Target = 0004.
     bcfg: Add Boot0004 as 1
The device should now boot into Armbian every time. Of course, you can also manually execute the bootloader from the UEFI shell.
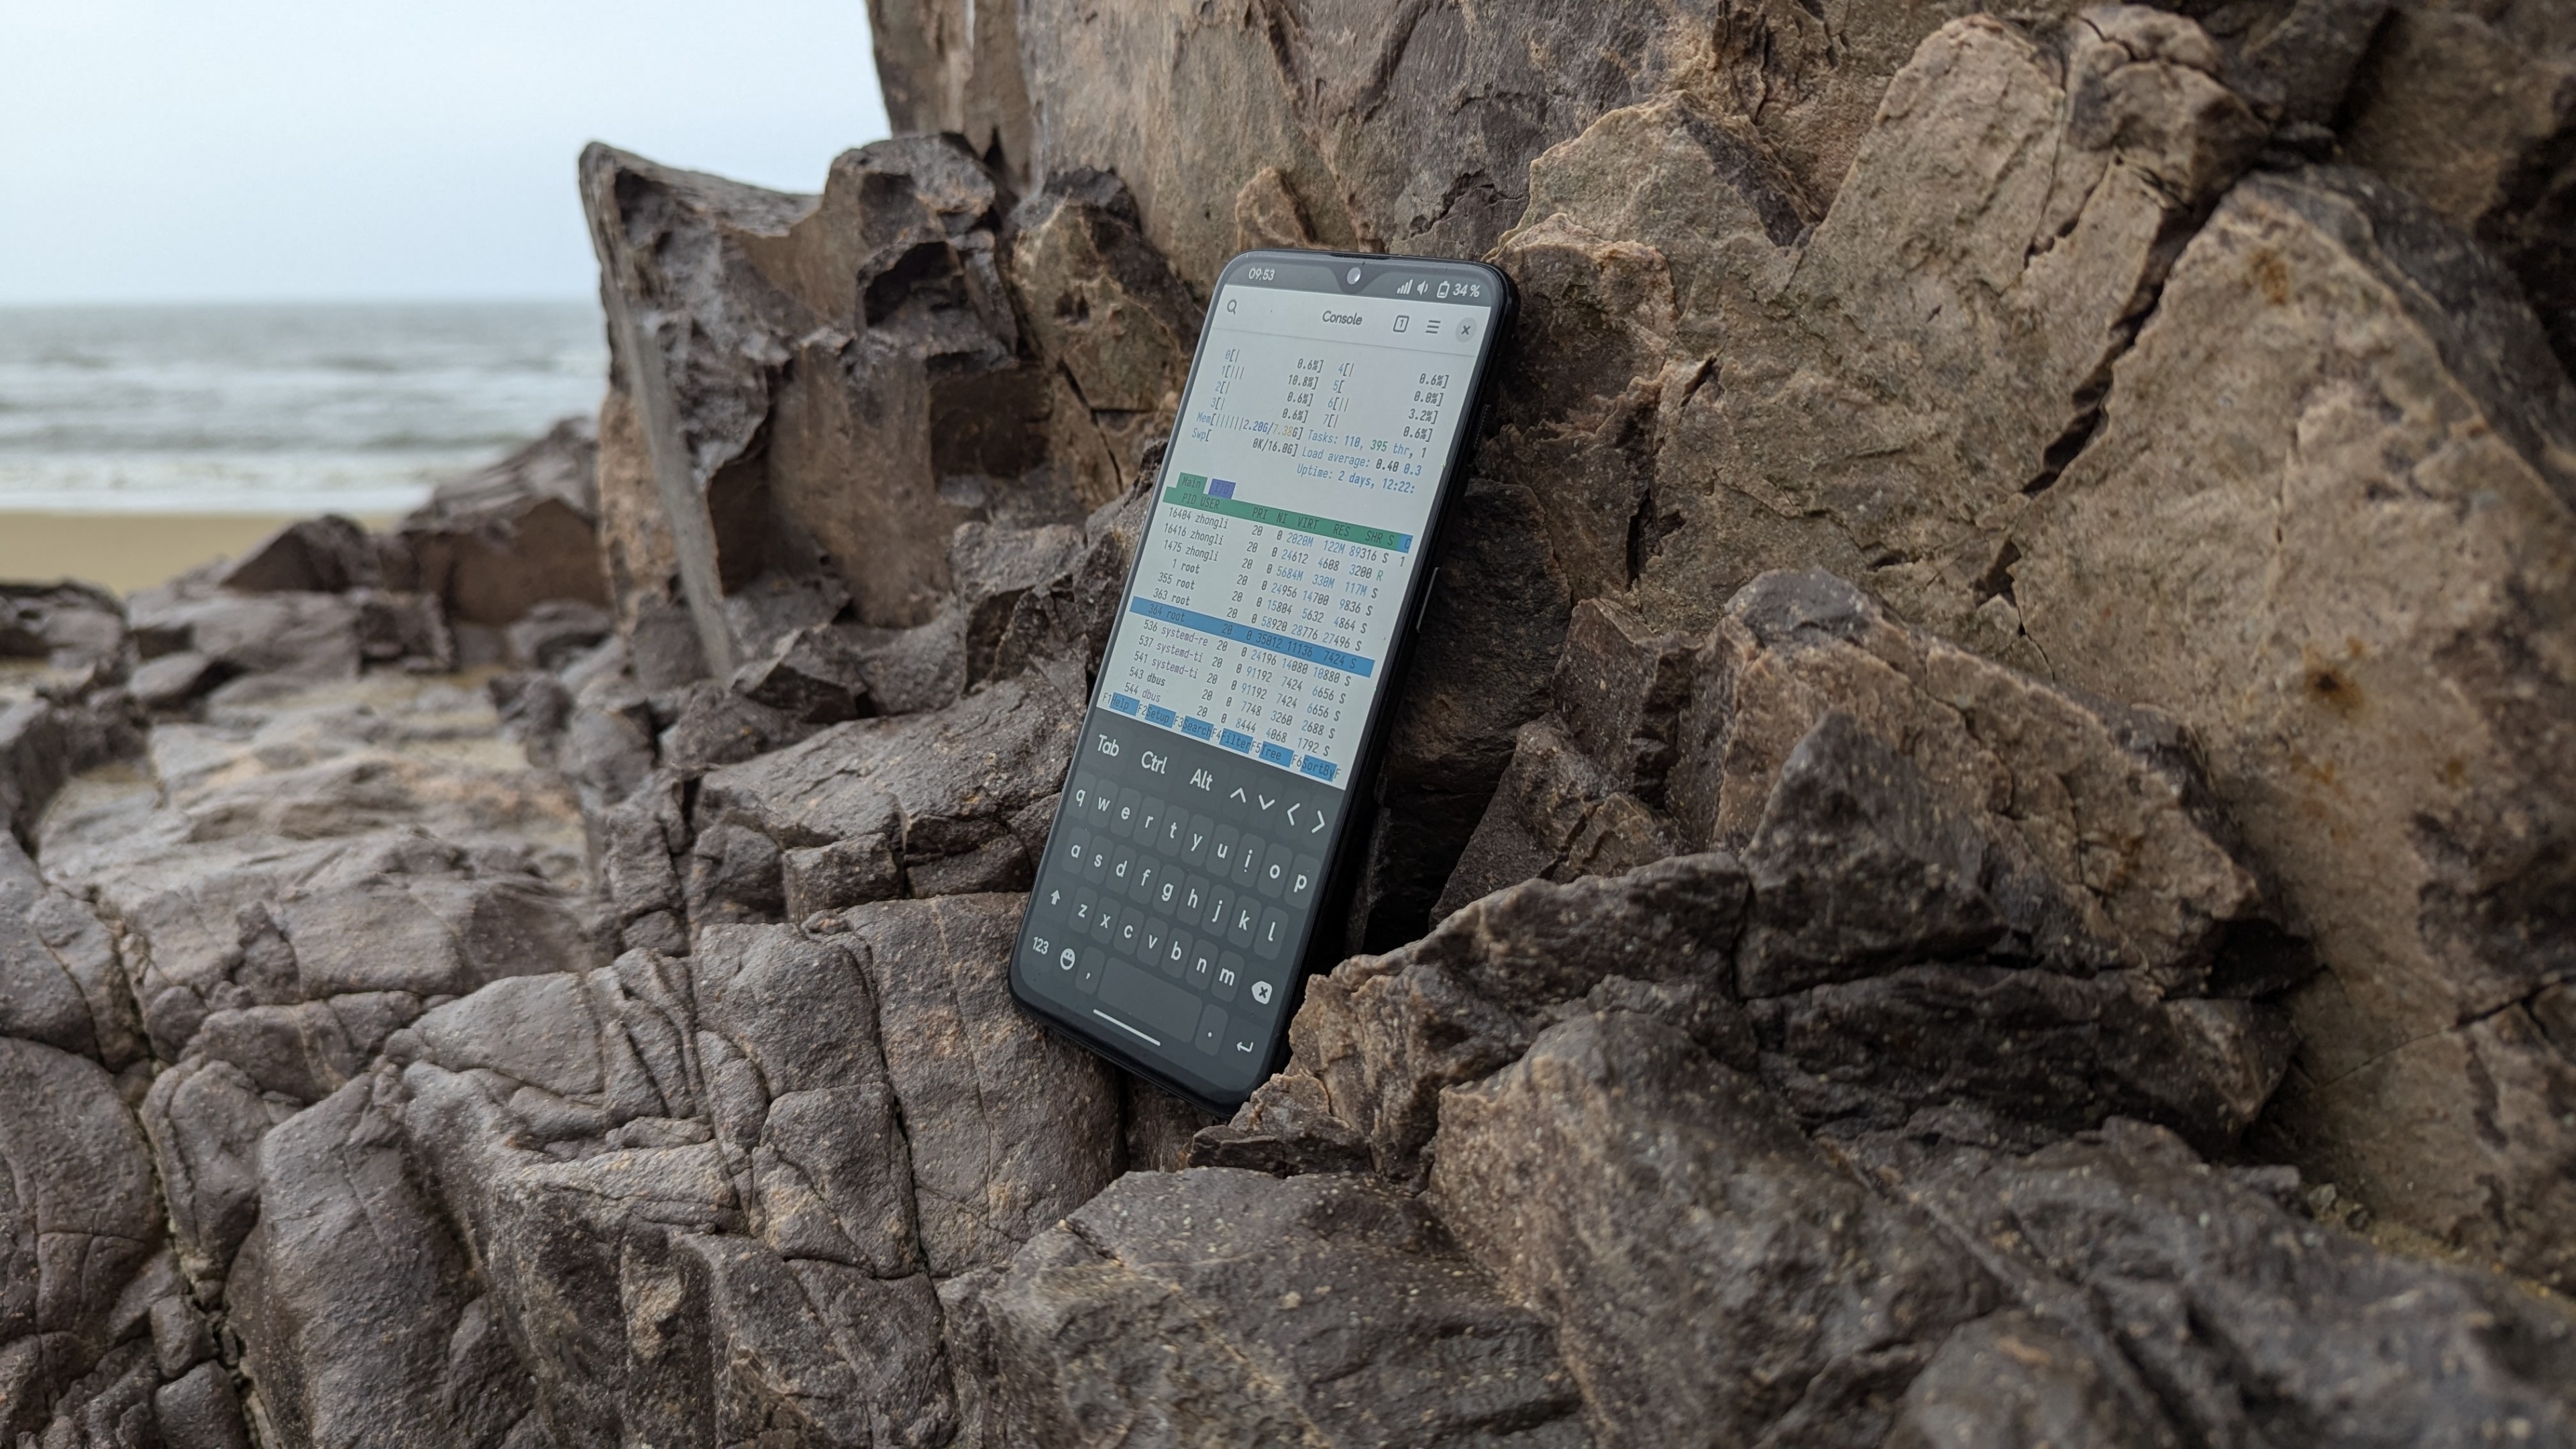
Results
Here is the video I posted on YouTube:
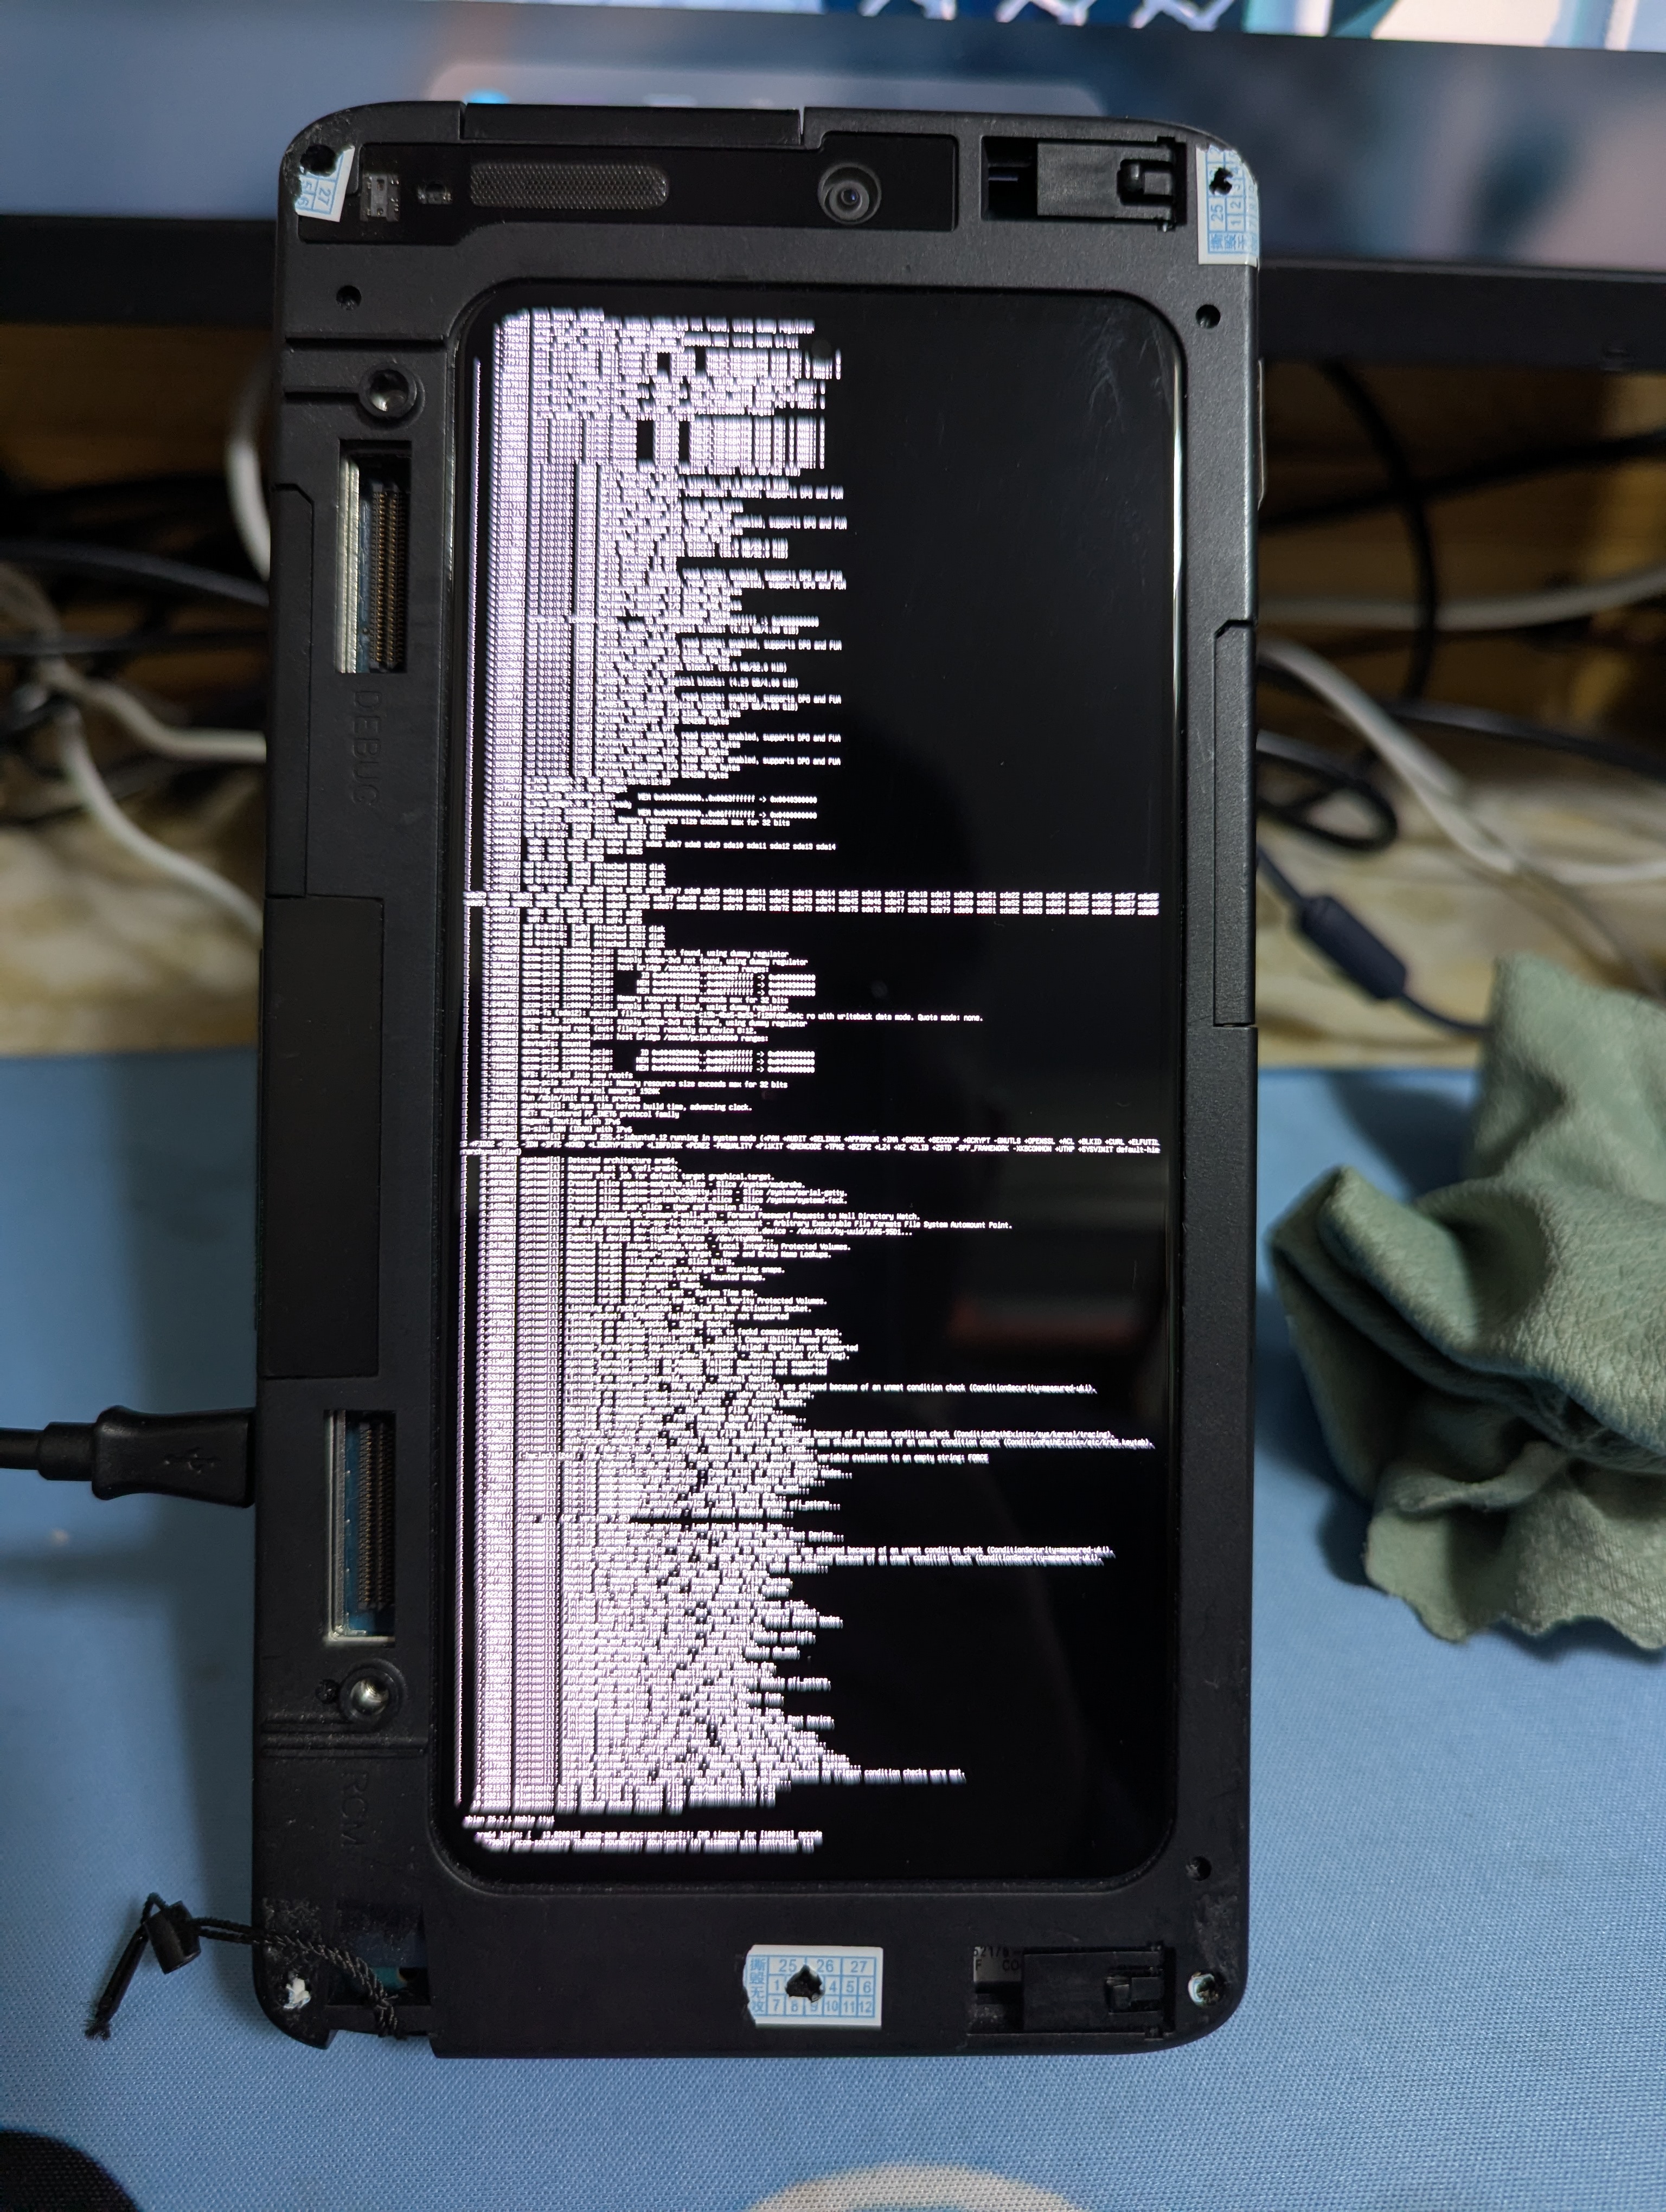
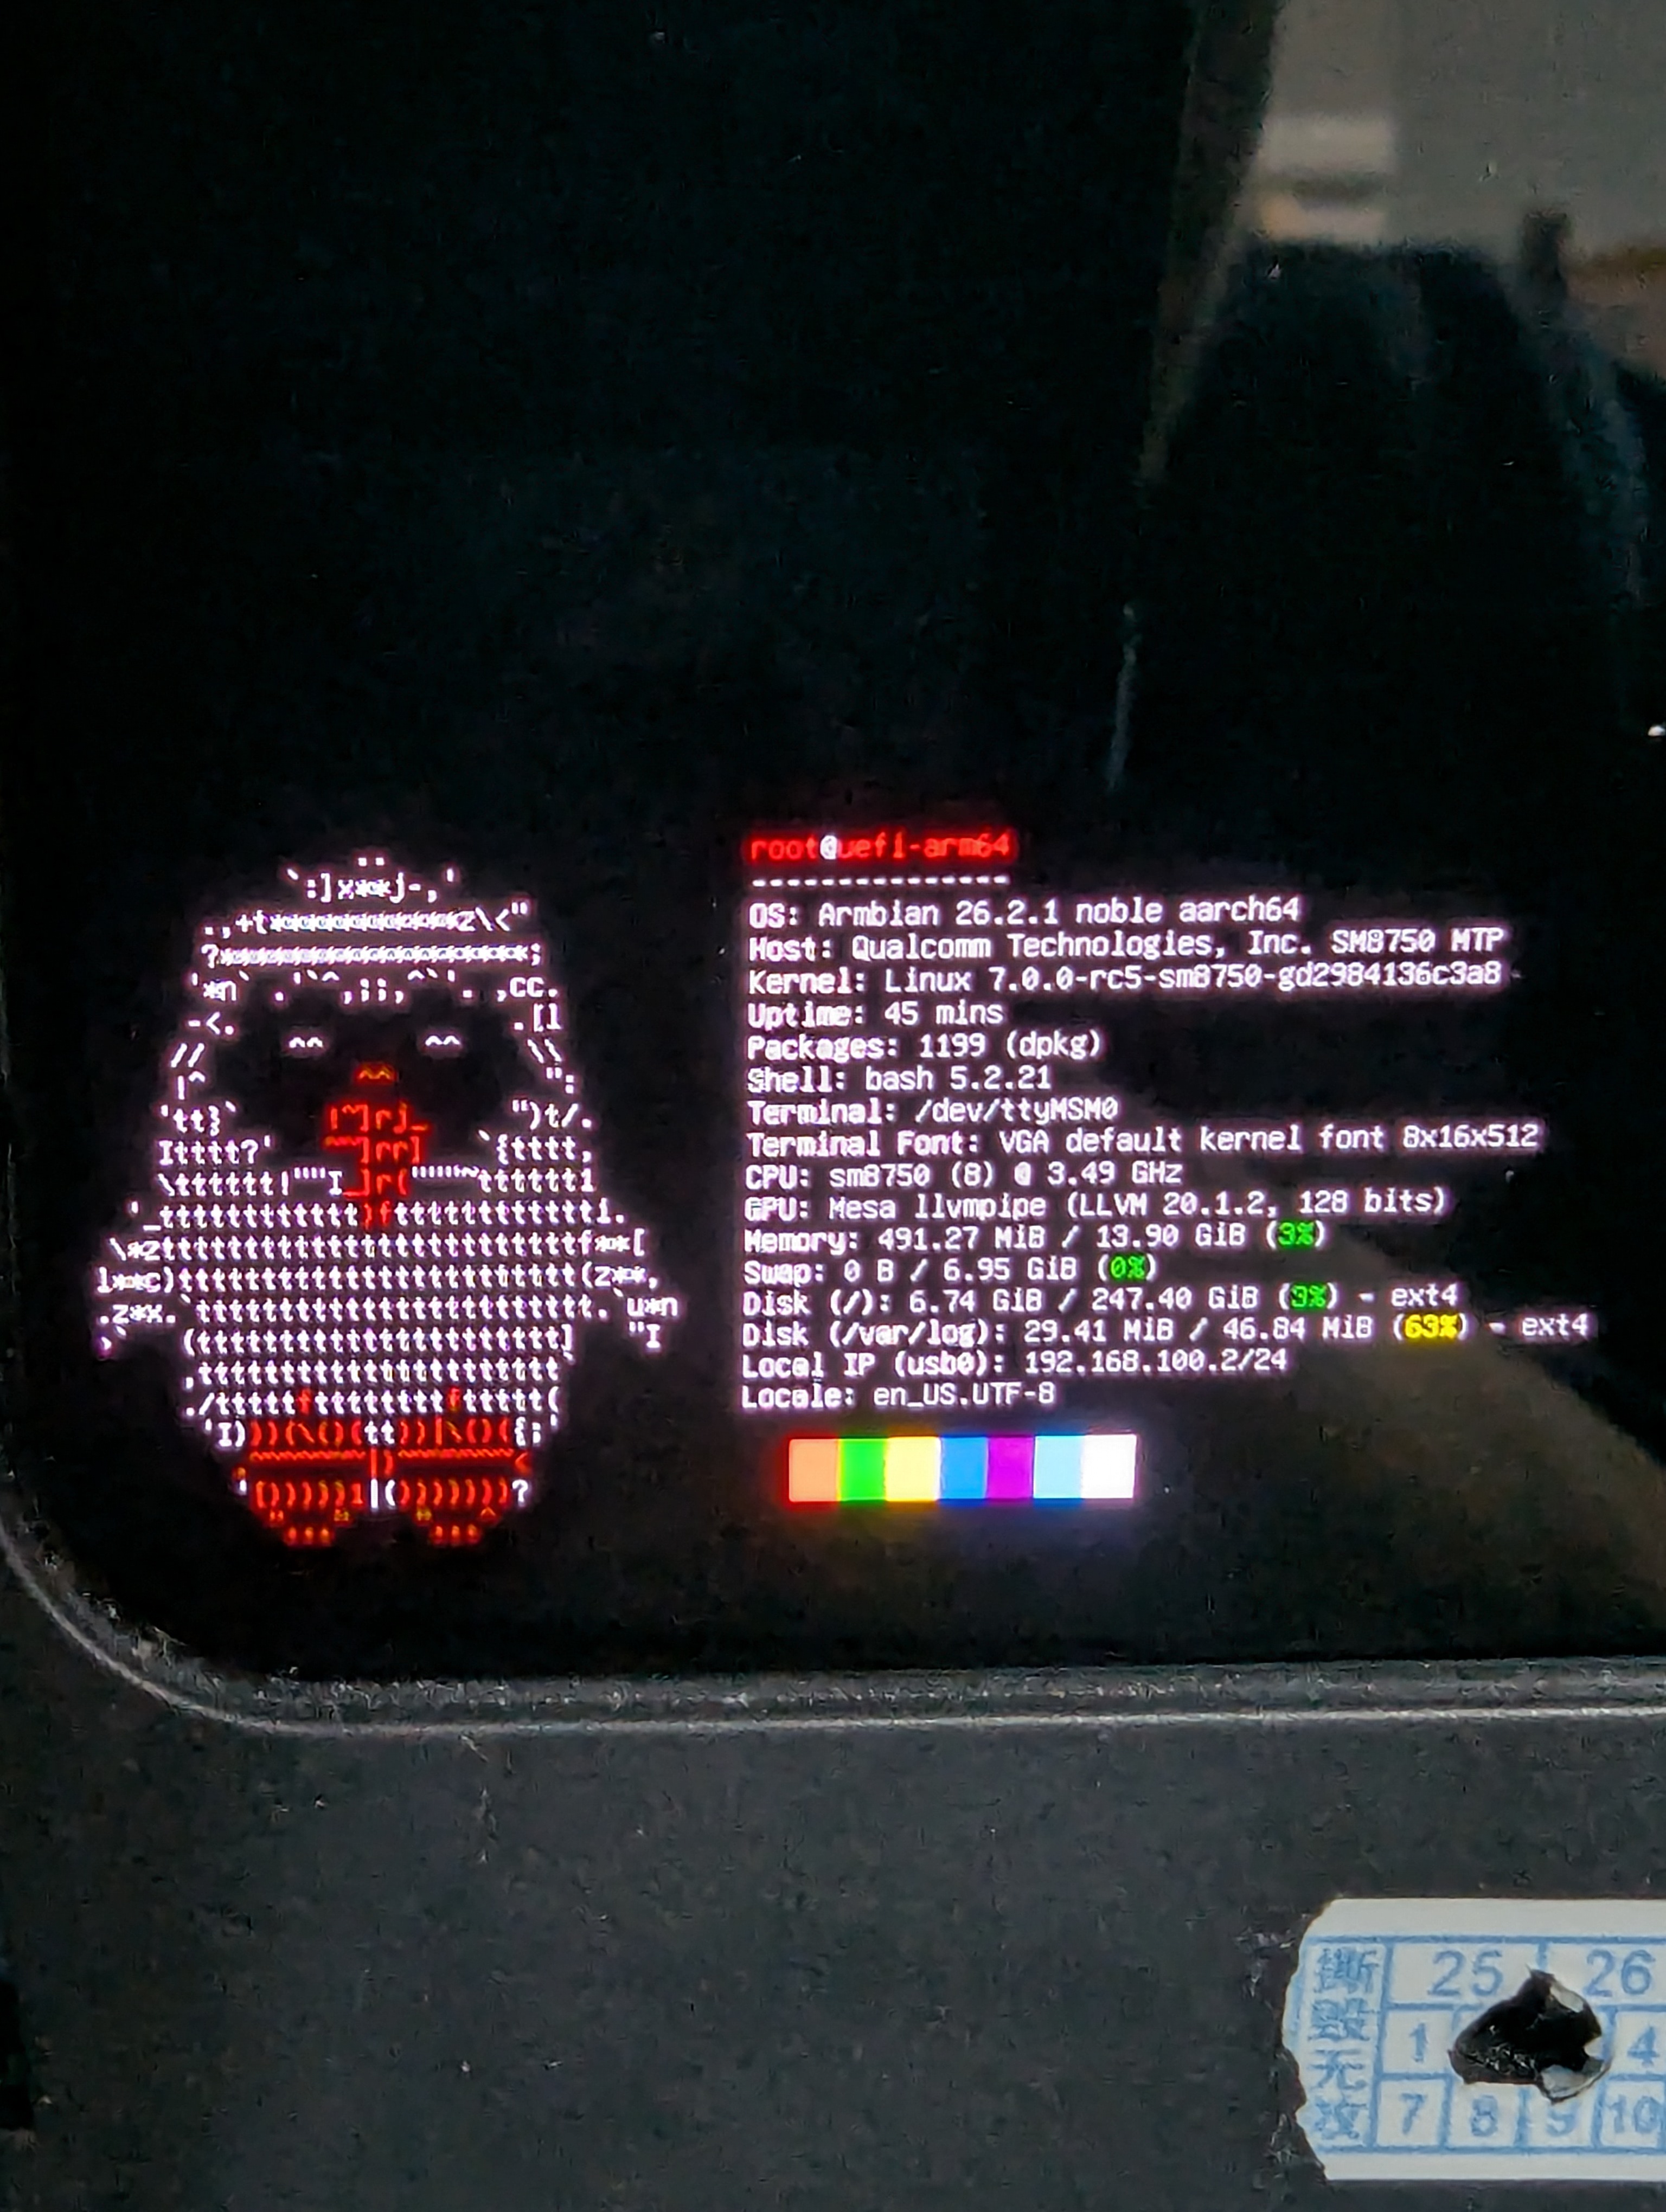
As I mentioned earlier: only the CPU (including DVFS), display (using EFI framebuffer), USB networking, audio, internal UFS flash, UART serial, GPIO-based buttons, ADSP, and CDSP are working; the rest is still being patched. At least compared to other common retail devices on the market, seeing an image (even if software-rendered) on the first try is enough to be happy about. Once all hardware functions are patched, I can submit a PR upstream to Armbian and release my results for others to download. I suppose I’ve essentially implemented a high-performance “PinePhone Pro” from scratch—after all, the original Pinephone Pro, despite switching to the RK3399 chip, is still quite underpowered.